Slab and humidity check
A concrete slab is a good base for tile, but cracks in the slab can crack the tile above them. Ask whether the installer plans a crack isolation or waterproofing membrane, and how they will flatten any high or low spots first.
| Kitchen | Porcelain handles spills, dropped pans and heavy traffic. |
|---|---|
| Bathroom | Tile is the classic choice; smaller tiles give better grip near the shower. |
| Entry and mudroom | Porcelain shrugs off sand and wet shoes. |
| Living areas | Works well, though it feels cold and hard; rugs help. |
Layout Comes Before the First Tile
A careful installer snaps chalk lines from the center points of opposite walls, checks them for square, then grids the room in sections about two feet wide. Walls are rarely straight, so the tile follows the lines, not the walls.
Next comes a dry row of loose tile with spacers, both ways. That shows where the cuts land and lets them shift the layout so you don't end up with thin slivers at the most visible edges.
Large Format Tile Has Its Own Rules
Any tile with a side longer than twelve inches counts as large format. It needs mortar made for large tile, a slightly wider grout joint of around three sixteenths of an inch, and an offset of no more than one third between rows.
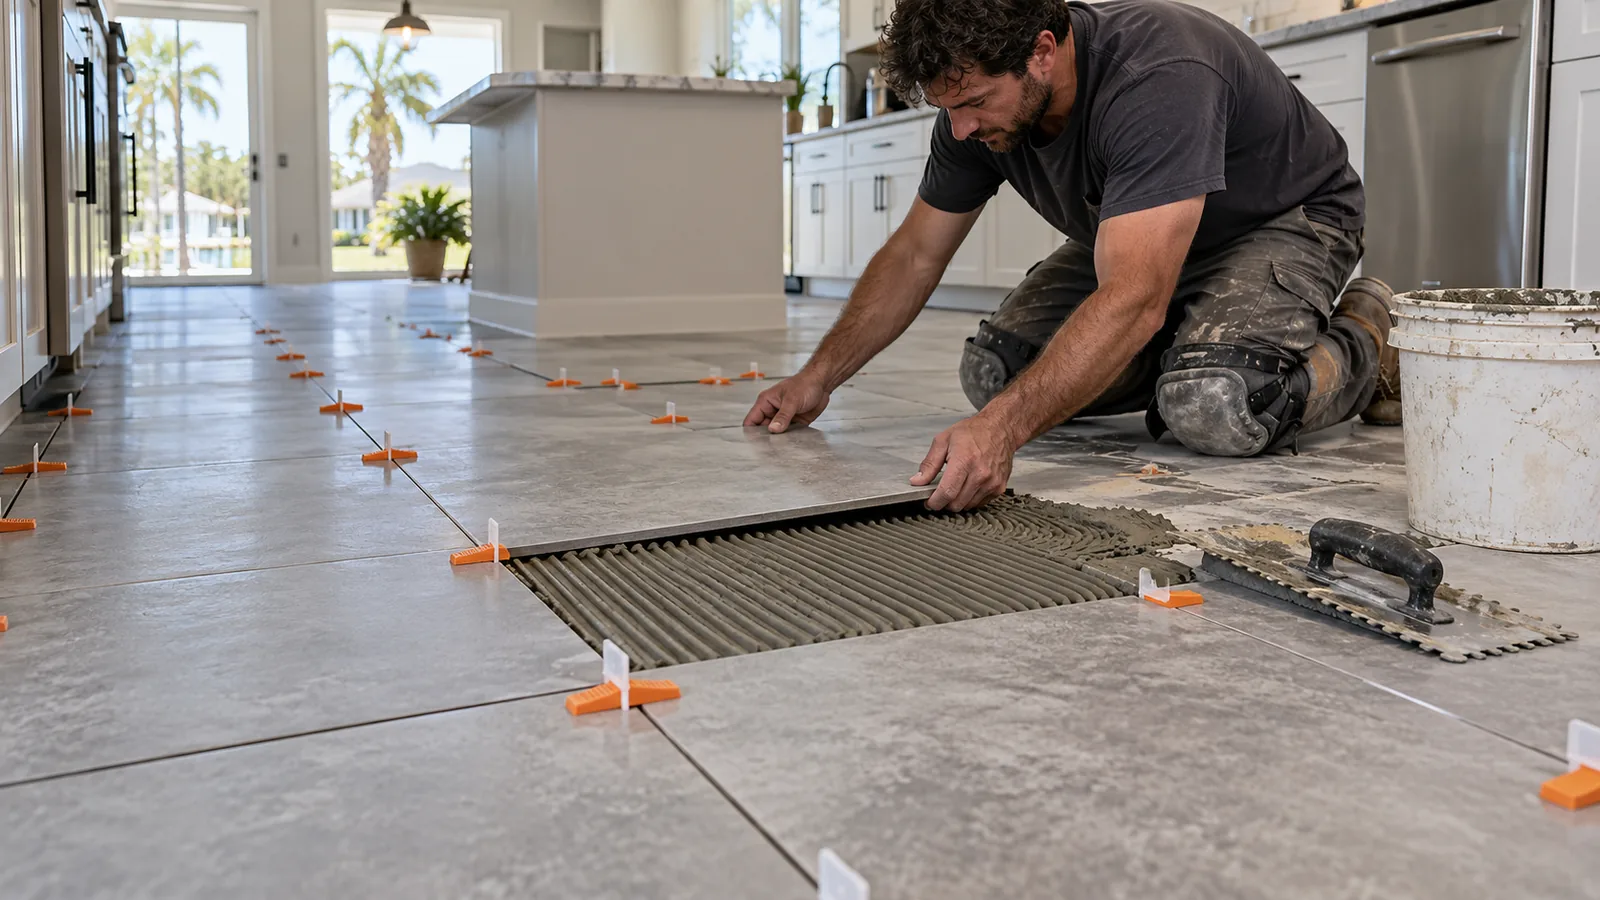
A half offset brick pattern with long tiles shows every slight bow in the tile as a lip. Leveling clips or wedges hold neighboring edges flush while the mortar sets.
Signs the Setting Is Being Done Right
- Mortar matched to the tile size and the slab, mixed in small batches that get used within about half an hour.
- Mortar combed in ridges at an angle and only spread as far as can be covered in about fifteen minutes.
- Each tile set straight down with a slight twist, never slid into place. Sliding flattens the ridges and leaves uneven edges.
- Tile pulled from several boxes as it goes down, since shade varies from box to box.
- Excess mortar cleaned out of the joints right away, not scraped out later.
Grout and Curing Times
Grout usually goes in about a day after setting, but the product label decides. It's pressed into the joints at an angle with a rubber float, then the haze is cleaned in several passes with a damp sponge.
Plan on staying off the floor for heavy traffic for about three days. Sealer, if your grout needs it, typically waits about three weeks. Ask for those times in writing so nobody rushes them.
Keeping It Looking New
Mop every couple of weeks and grime never builds up. For a floor that's already dingy, a foaming cleaner left a few minutes and scrubbed with a long brush does the heavy lifting.
Grout is its own job. It needs separate cleaning and periodic sealing to stay the color it started.
Price and Timeline
Tile usually costs more installed than vinyl plank, mostly in labor, and takes longer. Removing old tile and fixing the slab add to both. Our tile floor installation cost guide goes through it.
Wondering whether vinyl plank would do the same job for less? Compare luxury vinyl plank flooring installation, or read what a flooring contract should include before you sign.
Get a tile estimate with the estimate form or call (904) 555-0186.